

Should I Repot an Overwatered Plant? The Overwatering Rescue Guide
Yes, in many cases, repotting an overwatered plant is a crucial step in its recovery as it allows for the removal of saturated soil and a fresh start in a well-draining medium, potentially saving the plant from root rot and further decline.
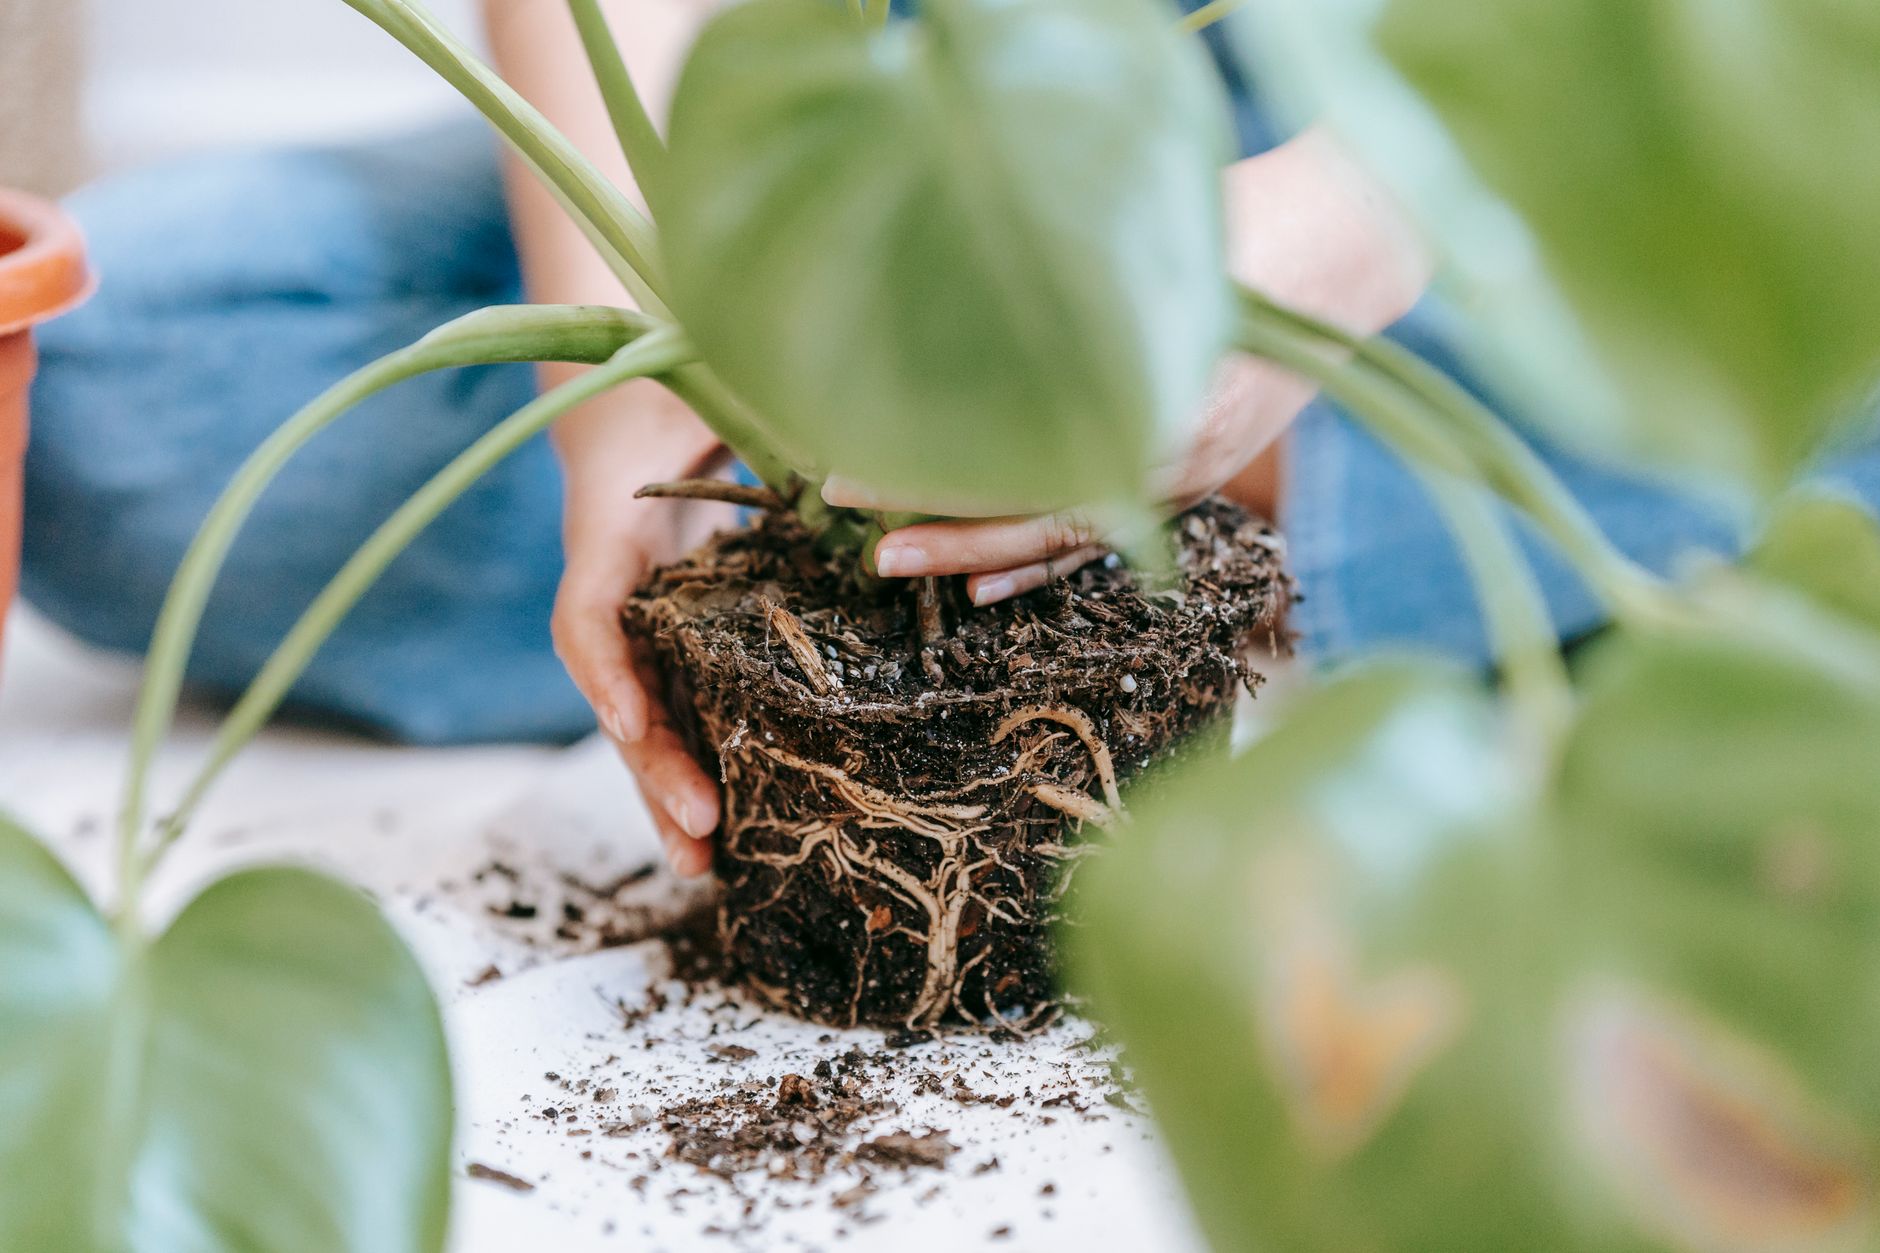
Understanding Overwatering and Its Impact
Overwatering is one of the most common killers of houseplants. Contrary to popular belief, it’s not necessarily about the quantity of water, but rather the frequency and the ability of the soil to drain properly. When soil remains consistently soggy, it deprives the roots of essential oxygen, leading to anaerobic conditions and the development of root rot. This rot is caused by fungal pathogens that thrive in oxygen-deprived environments.
Is distilled water good for goldfish?
What colours are fish most attracted to?
Can you put your finger in a trout's mouth?
Is methylene blue anti bacterial?
Identifying an Overwatered Plant

Before jumping into repotting, it’s vital to accurately diagnose overwatering. Look for these telltale signs:
- Yellowing leaves: Especially lower leaves, which may eventually turn brown and drop.
- Drooping leaves: Even when the soil is wet.
- Soft, mushy stems: Indicating internal decay.
- Foul odor: Emanating from the soil due to anaerobic decomposition.
- Fungus gnats: These small flies are attracted to moist soil and decaying organic matter.
However, overwatering can sometimes mimic underwatering symptoms (drooping leaves) because the roots can’t function properly to absorb water. Careful examination of the soil is crucial.
The Benefits of Repotting
If you’ve confirmed that your plant is indeed overwatered and shows signs of distress, repotting offers several key advantages:
- Removal of Saturated Soil: The primary benefit is getting rid of the waterlogged soil, which is suffocating the roots.
- Inspection and Trimming of Roots: Repotting allows you to visually inspect the roots for signs of rot. Affected roots will be brown, mushy, and easily break apart. These should be carefully trimmed away.
- Improved Drainage: Using a well-draining potting mix in the new pot ensures better aeration and prevents future overwatering issues.
- Fresh Start: Provides the plant with a clean, disease-free environment to recover.
The Repotting Process: A Step-by-Step Guide
Follow these steps to successfully repot your overwatered plant:
- Gather Supplies: You’ll need a new pot (ensure it has drainage holes!), well-draining potting mix, sharp scissors or pruning shears, gloves, and a container of water.
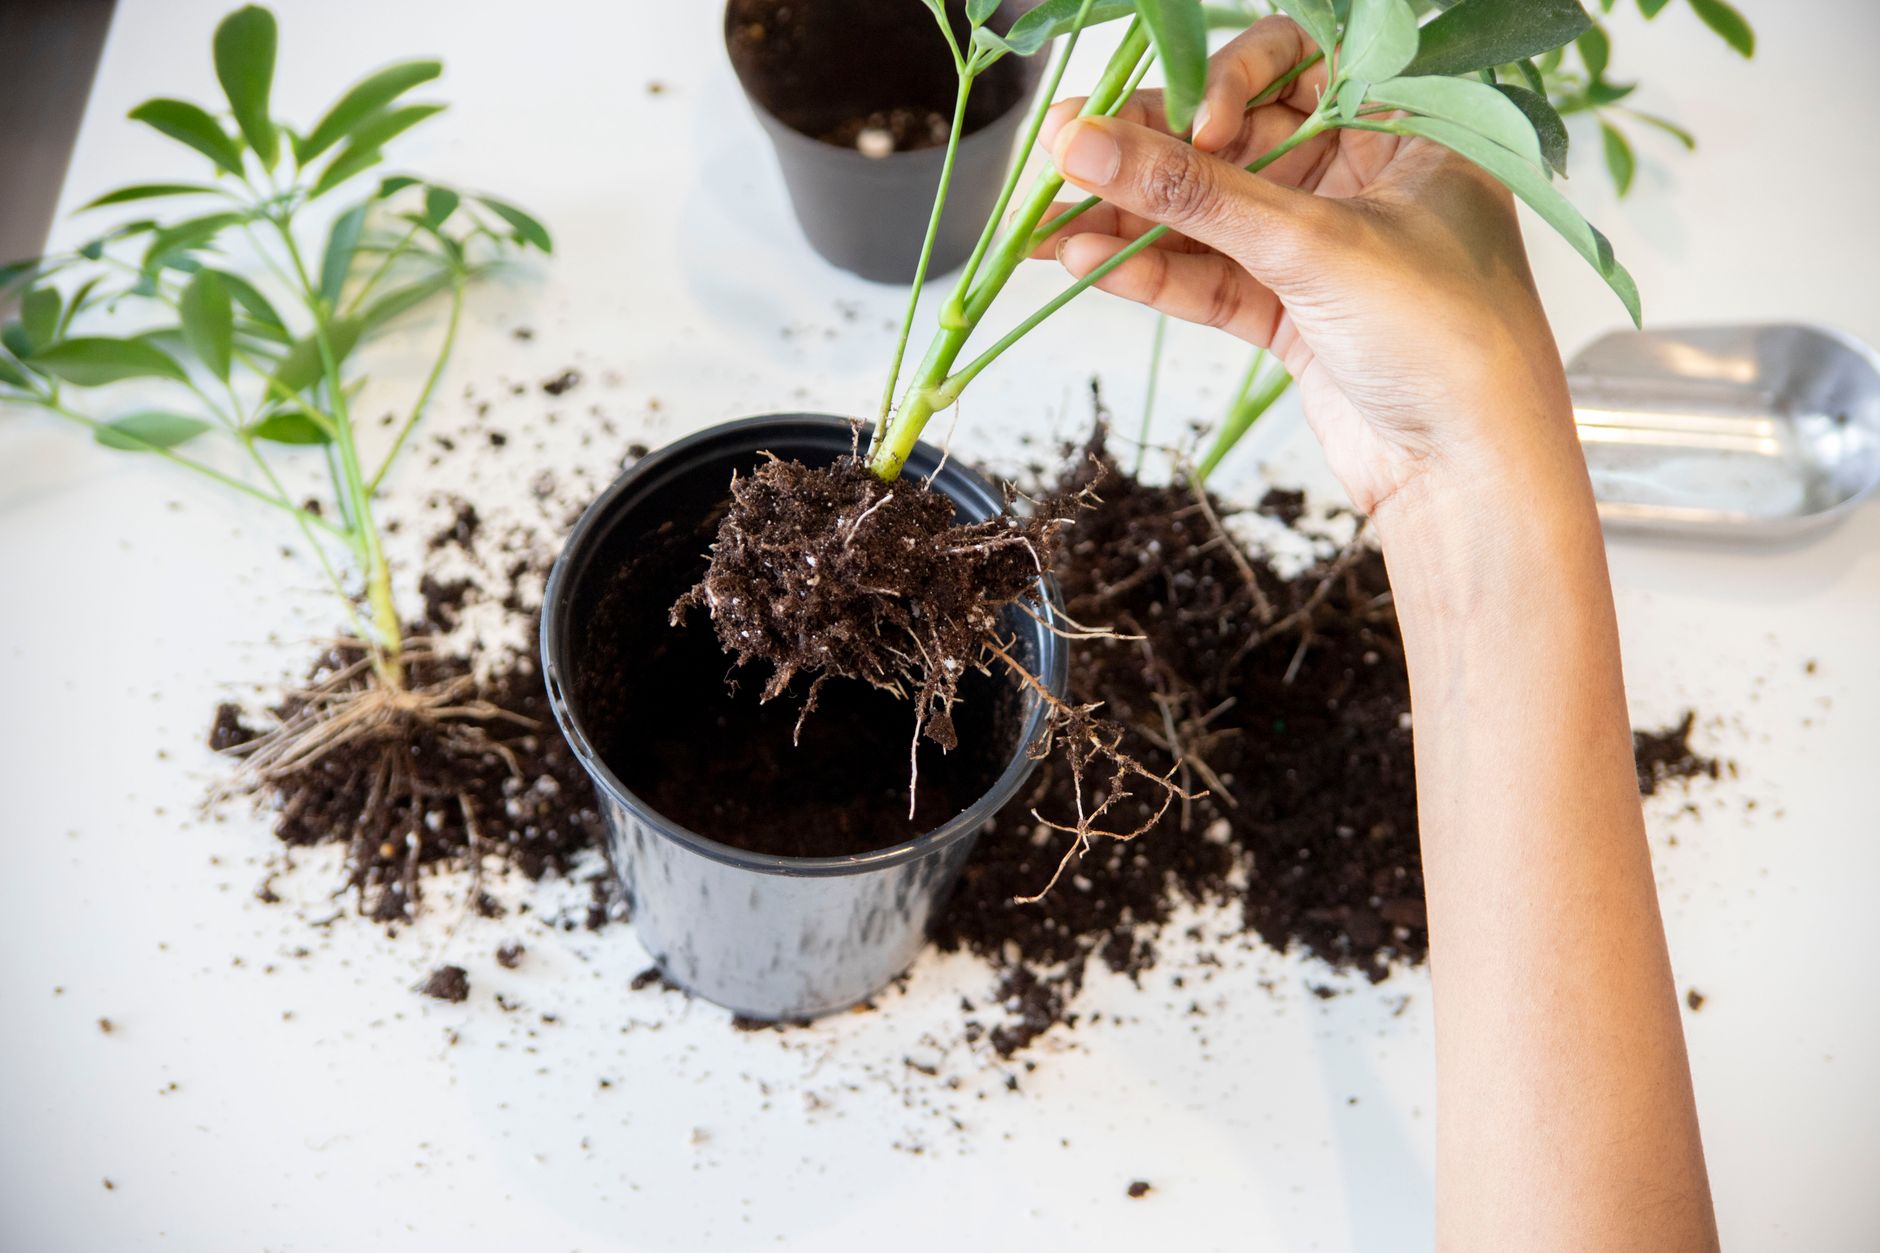
- Remove the Plant: Gently ease the plant out of its old pot. If it’s stuck, try squeezing the pot or tapping the bottom. Avoid pulling the plant by its stem.
- Inspect and Clean the Roots: Carefully remove as much of the old, saturated soil as possible. Gently tease apart the roots to examine them.
- Trim Rotted Roots: Use clean scissors or pruning shears to remove any brown, mushy, or decaying roots. Healthy roots should be firm and white or light brown.
- Repot in Fresh Soil: Fill the new pot with a layer of well-draining potting mix. Place the plant in the pot and add more soil around the roots, ensuring they are covered but not buried too deeply.
- Water Sparingly: Water the newly repotted plant lightly, just enough to settle the soil. Avoid overwatering!
- Monitor and Adjust: Keep a close eye on the plant for signs of recovery. Adjust your watering schedule as needed.
Choosing the Right Potting Mix
The choice of potting mix is crucial for preventing future overwatering. Avoid using garden soil, which is too dense and retains too much moisture. Opt for a well-draining mix specifically formulated for houseplants. Consider these amendments to improve drainage:
- Perlite: A lightweight volcanic glass that improves aeration and drainage.
- Vermiculite: A mineral that helps retain moisture and nutrients, but also improves drainage. Use sparingly.
- Orchid Bark: Excellent for plants that prefer well-draining, airy conditions (like orchids and epiphytes).
- Coarse Sand: Can improve drainage, but avoid fine sand, which can compact and hinder drainage.
Common Mistakes to Avoid
- Repotting into a Pot That’s Too Large: A larger pot means more soil, which can retain more water and lead to further overwatering issues. Choose a pot that’s only slightly larger than the root ball.
- Overwatering After Repotting: Resist the urge to overwater. Allow the soil to dry out slightly between waterings.
- Using the Wrong Potting Mix: Using dense, poorly draining soil defeats the purpose of repotting.
- Neglecting Drainage: Make sure the pot has adequate drainage holes. If not, drill some!
- Repotting at the Wrong Time of Year: Ideally, repot during the plant’s active growing season (spring or summer) for best results. Avoid repotting during dormancy (fall or winter) unless absolutely necessary.
- Failing to Inspect the Roots: Skipping the root inspection step can leave rot lurking, leading to continued problems.
Alternatives to Repotting (When Repotting Isn’t Possible or Necessary)
While repotting is often the best solution, here are some alternatives for less severe cases:
- Improve Drainage: Gently aerate the soil with a chopstick or skewer to improve airflow.
- Remove Standing Water: If the pot has a saucer, empty it regularly to prevent the plant from sitting in water.
- Increase Air Circulation: Improve ventilation around the plant by opening a window or using a fan.
- Hold Off Watering: Allow the soil to dry out completely before watering again.
Recognizing Successful Recovery
Signs that your plant is recovering from overwatering and repotting include:
- New Leaf Growth: New, healthy leaves indicate that the plant is actively growing.
- Firm Stems: Stems that are no longer soft or mushy.
- Improved Leaf Color: Yellowing leaves gradually returning to their normal green color.
- Overall Vigor: The plant looking generally healthier and more vibrant.
FAQs: Your Overwatering Questions Answered
Should I always repot immediately if I think I’ve overwatered?
No. Repotting is a more drastic measure. First, try allowing the soil to dry out completely. If the plant shows no improvement after a few days, or if you see signs of root rot, then repotting becomes a necessary step.
What kind of potting mix is best for plants prone to overwatering?
A well-draining mix is essential. Look for mixes containing perlite, vermiculite, and/or orchid bark. Cactus and succulent mixes often work well for plants susceptible to overwatering, as they are designed for excellent drainage.
Can I reuse the pot after repotting an overwatered plant?
Yes, but only if you thoroughly clean and disinfect it first to kill any fungal pathogens that may be present. Use a solution of bleach and water (1 part bleach to 9 parts water) to scrub the pot inside and out. Rinse well before using.
How soon after repotting should I water my plant?
Water sparingly after repotting, just enough to settle the soil. Avoid saturating the soil. Allow the top inch or two of soil to dry out before watering again.
What if I accidentally damage the roots while repotting?
Some root damage is unavoidable during repotting. Don’t panic. Simply trim away any severely damaged or broken roots. The plant will recover as long as you provide it with proper care and avoid overwatering.
Is it okay to fertilize my plant immediately after repotting?
No. Wait at least a few weeks before fertilizing, as the plant is already stressed from the repotting process. Fertilizing too soon can further stress the plant and hinder its recovery.
My plant is still drooping after repotting. What should I do?
Drooping can sometimes persist for a few days after repotting as the plant adjusts. Ensure the soil is not overly wet. Provide adequate light and humidity. If the drooping continues after a week, re-examine the roots for any missed rot and review your watering practices. It could also indicate transplant shock, which the plant will hopefully recover from.
Can I use hydrogen peroxide to treat root rot instead of repotting?
Hydrogen peroxide can help kill some of the bacteria associated with root rot, but it’s not a complete solution. It can be used as a supplementary treatment, but repotting is still necessary to remove the saturated soil and inspect the roots.
How do I prevent overwatering in the future?
Use well-draining potting mix, choose the right pot size, water only when the top inch or two of soil is dry, and provide adequate light and air circulation. Consider using a moisture meter to gauge the soil’s moisture level.
My overwatered plant has completely lost its leaves. Is there any hope?
It depends. If the stems are still firm and green, there’s a chance the plant can recover. Repot the plant and provide it with proper care. If the stems are soft and mushy, the plant is likely beyond saving.
Should I repot an overwatered succulent?
Yes, repotting an overwatered succulent is often crucial for its survival. Succulents are particularly susceptible to root rot. Use a well-draining succulent potting mix and allow the soil to dry out completely between waterings.
My plant is root-bound and overwatered. How do I proceed?
Carefully tease apart the root ball and trim any circling roots. Remove as much of the old, saturated soil as possible. Choose a pot that’s only slightly larger than the root ball after trimming and repot into a well-draining mix. This provides an opportunity to rectify both issues.