

Should You Wrap a Dog’s Broken Nail? A Comprehensive Guide
Yes, you should wrap a dog’s broken nail. Properly wrapping a broken nail is essential for controlling bleeding, preventing infection, and promoting healing.

A broken nail is a common and painful injury for dogs. Understanding when and how to properly wrap a dog’s broken nail is crucial for any responsible pet owner. This article will delve into the specifics, offering expert advice to ensure your furry friend receives the best possible care.
Understanding Dog Nail Anatomy and Breaks
A dog’s nail, unlike a human’s, is not just a hard covering. It contains a sensitive area called the quick. The quick houses blood vessels and nerves. When a nail breaks close to or into the quick, it’s incredibly painful and bleeds profusely. Common causes of broken nails include:
- Trauma: Catching the nail on furniture, rough surfaces, or during exercise.
- Infection: Fungal or bacterial infections can weaken the nail.
- Overgrown nails: Longer nails are more prone to breakage.
- Underlying health conditions: Some diseases can affect nail health.
Benefits of Wrapping a Broken Nail
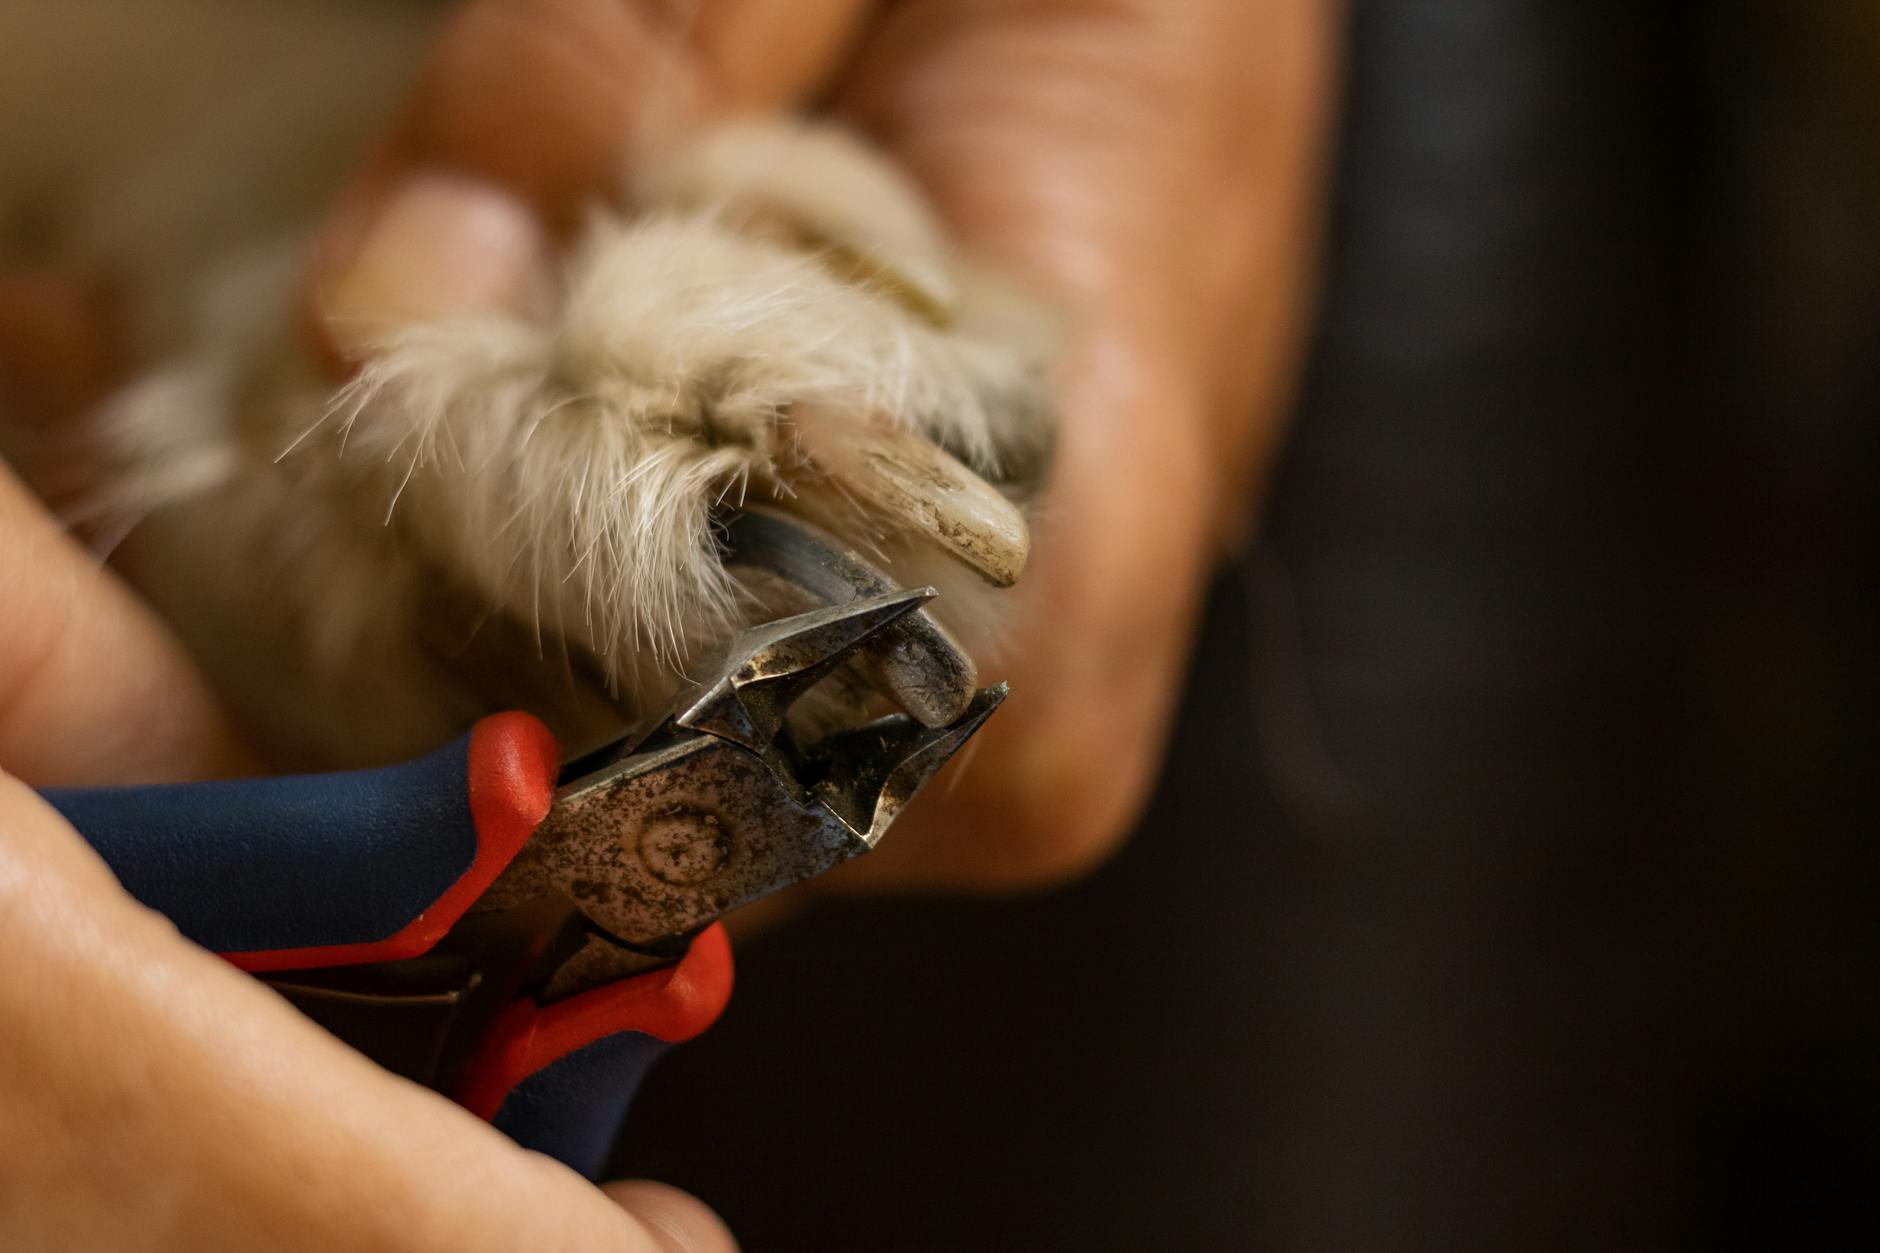
Should you wrap a dog’s broken nail? Absolutely. Wrapping a broken nail offers several critical benefits:
- Controls Bleeding: A properly applied bandage provides direct pressure to stop the bleeding from the damaged quick.
- Prevents Infection: Bandaging protects the exposed quick from bacteria and debris, reducing the risk of infection.
- Reduces Pain: The bandage provides cushioning and support, minimizing further irritation and pain.
- Promotes Healing: Keeping the area clean and protected allows the nail to heal properly.
- Prevents Further Damage: The wrapping keeps the dog from licking, chewing, or further injuring the nail.
Step-by-Step Guide to Wrapping a Broken Nail
Here’s a step-by-step guide on how to wrap a dog’s broken nail:
- Gather Your Supplies:
- Styptic powder or cornstarch: To stop the bleeding.
- Antiseptic solution: Such as diluted povidone-iodine or chlorhexidine.
- Gauze pads: Non-stick is ideal.
- Self-adhesive bandage wrap: Vet wrap or similar.
- Medical tape: To secure the bandage.
- Scissors: To cut the bandage.
- Optional: A clean sock or boot: To protect the bandage.
- Stop the Bleeding: Apply styptic powder or cornstarch directly to the bleeding nail. Apply pressure for several minutes until the bleeding stops.
- Clean the Wound: Gently clean the area with antiseptic solution.
- Apply a Gauze Pad: Place a non-stick gauze pad over the broken nail.
- Wrap the Foot:
- Begin wrapping the self-adhesive bandage wrap around the toes, including the injured one.
- Ensure the wrap is snug but not too tight. You should be able to insert two fingers between the bandage and the leg.
- Wrap up the foot and around the lower part of the leg, securing the gauze pad.
- Secure the Bandage: Use medical tape to secure the end of the bandage wrap.
- Protect the Bandage (Optional): Place a clean sock or dog boot over the bandage to keep it clean and dry.
Common Mistakes to Avoid
Even with good intentions, pet owners can make mistakes when wrapping a broken nail. Here are some common pitfalls:
- Wrapping Too Tightly: This can restrict blood flow and cause further damage.
- Wrapping Too Loosely: The bandage will slip off, providing no protection.
- Failing to Clean the Wound: This increases the risk of infection.
- Using Human Bandages: Human bandages often lack the necessary padding and support for a dog’s foot.
- Not Changing the Bandage Regularly: Bandages should be changed at least once a day, or more often if they become wet or soiled.
When to See a Veterinarian
While you can often manage a broken nail at home, there are situations where veterinary care is essential:

- Uncontrolled Bleeding: If you cannot stop the bleeding after 15-20 minutes of applying pressure.
- Signs of Infection: Redness, swelling, pus, or a foul odor.
- Severe Pain: If your dog is showing signs of extreme discomfort.
- Underlying Health Conditions: Dogs with diabetes or other conditions that impair healing may require veterinary attention.
- Complete Nail Avulsion: If the entire nail has been completely detached.
Maintaining Nail Health to Prevent Breaks
Preventing broken nails is always better than treating them. Here are some tips for maintaining your dog’s nail health:
- Regular Trimming: Trim your dog’s nails regularly, ideally every 2-3 weeks.
- Proper Trimming Technique: Use a nail clipper specifically designed for dogs, and trim small amounts at a time to avoid cutting the quick.
- Proper Diet: Ensure your dog is eating a balanced diet that supports healthy nail growth.
- Avoid Rough Surfaces: Be mindful of surfaces that can cause nail trauma, such as concrete or rocky terrain.
| Prevention Tip | Description |
|---|---|
| Regular Nail Trimming | Trim nails frequently to prevent overgrowth and potential breakage. |
| Proper Trimming Technique | Use proper tools and techniques to avoid cutting the quick and causing bleeding and pain. |
| Balanced Diet | Provide a nutritious diet that supports healthy nail growth and overall well-being. |
| Environmental Awareness | Be aware of the surfaces your dog walks on, avoiding rough terrains that can increase the risk of nail trauma. |
Frequently Asked Questions
How do I know if my dog’s nail is broken?
A broken nail is usually quite obvious. You might see bleeding, a visible crack or split in the nail, or your dog may be limping or licking at their paw. They may also yelp or show signs of pain when you touch their paw.
What if I accidentally cut the quick while trimming my dog’s nails?
Cutting the quick is a common mistake. Immediately apply styptic powder or cornstarch to the bleeding nail and apply pressure until the bleeding stops. Keep a close eye on the area for signs of infection.
Can I use super glue on a broken nail?
While some veterinarians recommend using a small amount of cyanoacrylate-based super glue to seal a cracked nail if there is no bleeding or exposed quick, it’s generally best to avoid this unless specifically instructed by your vet. Improper use can cause further irritation or infection.
How often should I change the bandage?
You should change the bandage at least once a day, or more frequently if it becomes wet, soiled, or if you notice any signs of infection.
What are the signs of infection?
Signs of infection include redness, swelling, pus discharge, a foul odor, and increased pain or sensitivity. If you notice any of these signs, consult your veterinarian immediately.
Can my dog walk with a wrapped broken nail?
Yes, your dog can walk with a properly wrapped broken nail, but you should limit their activity to prevent further irritation or injury. Using a sock or boot over the bandage can provide additional protection.
How long does it take for a broken nail to heal?
It typically takes 7-14 days for a broken nail to heal. The healing time can vary depending on the severity of the break and your dog’s overall health.
Can I use human bandages on my dog?
While you can use human gauze pads, it’s best to use self-adhesive bandage wrap specifically designed for animals. These bandages are more flexible and breathable, and they won’t stick to your dog’s fur. Human adhesive bandages, like Band-Aids, are generally not recommended as they don’t offer enough support or breathability.
What if my dog keeps licking the bandage?
If your dog is persistently licking the bandage, you may need to use an Elizabethan collar (cone) to prevent them from interfering with the healing process.
Is it safe to use hydrogen peroxide to clean the wound?
While hydrogen peroxide is a common antiseptic, it can damage healthy tissue and slow down the healing process. It’s better to use a diluted povidone-iodine or chlorhexidine solution.
What should I do if the broken nail doesn’t heal?
If the broken nail doesn’t heal within 2-3 weeks, or if you notice any signs of complications, consult your veterinarian. There may be an underlying issue preventing proper healing.
Should you wrap a dog’s broken nail at night?
Yes, wrapping a dog’s broken nail at night is just as important as during the day. This helps protect the injury from further trauma and prevents your dog from licking or chewing at it while they are sleeping. Ensure the bandage is secure but not too tight.